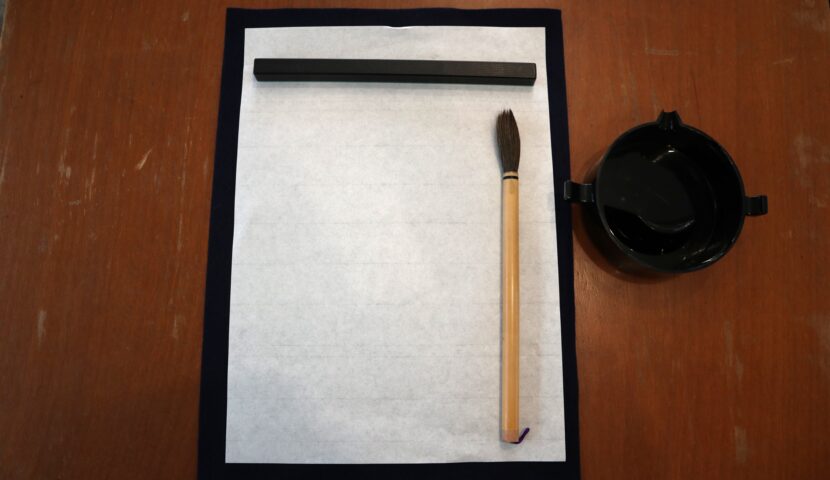
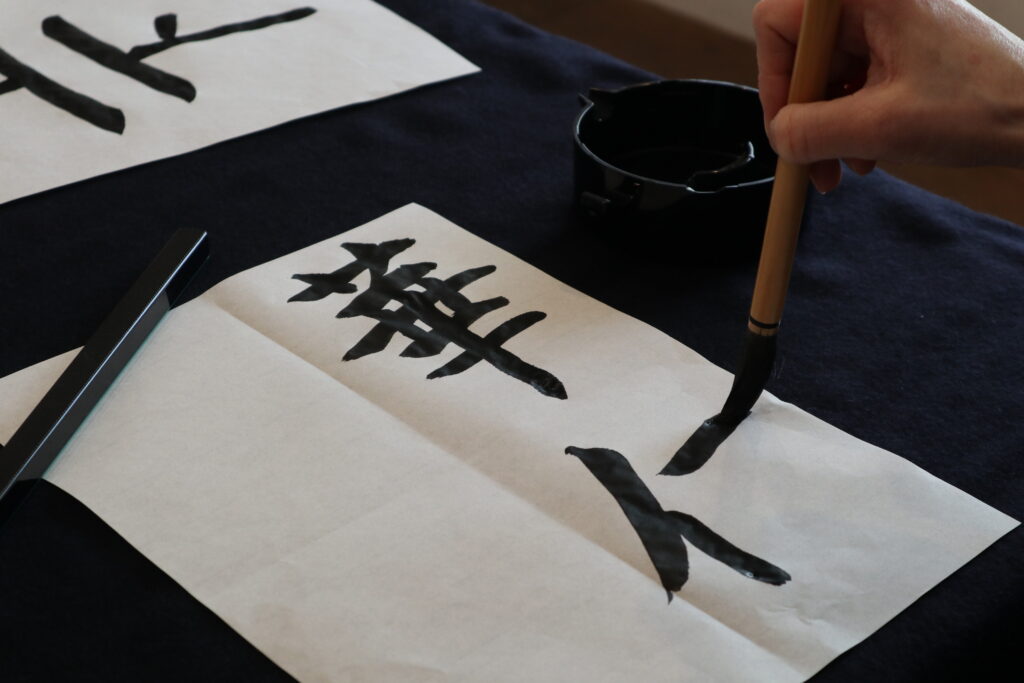
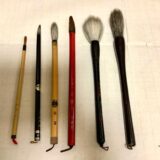
In calligraphy, we write characters using brushes that are about 20 cm long with 5 cm tips. Below, I’ll explain how to hold and use the brush.
How to Hold a Brush

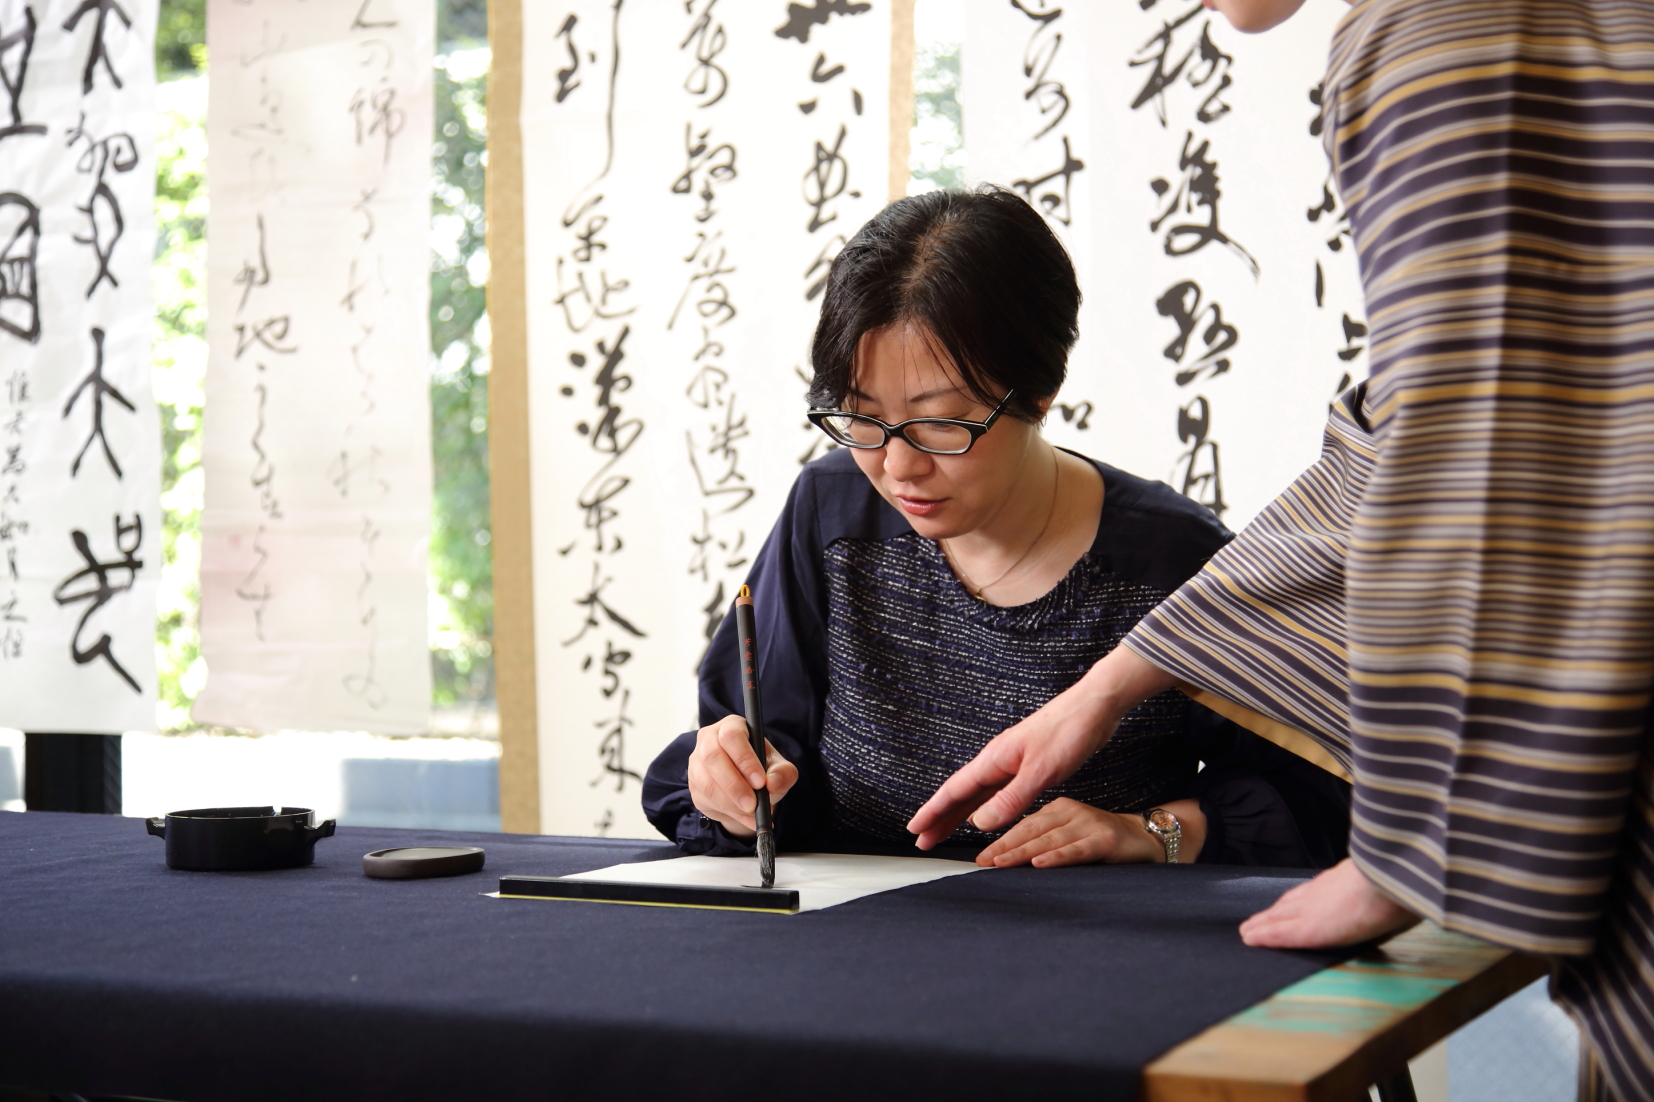
Hold the brush straight upright, rather than at an angle like a pen. You’ll want to grasp it gently, just with your fingers and thumb. Imagine you’re holding an egg between the palm of your hand and the brush. This gives you more control—squeezing too tightly can make the brush shake or the strokes too strong. When writing, move your entire arm while maintaining this hand position. Again, it’s very different from using your fingers and wrist with a pen!
Where to Hold a Brush

The proper place to hold a calligraphy brush is around the middle. If you hold the base near the bristles, it restricts the brush’s range of motion. This means you can only write small characters. Holding the brush around the middle increases the range of motion, allowing for greater movement and making it easier to write all kinds of characters.
Loading the Brush with Ink
First and foremost, remember to always keep the brush tip pointing downward. Calligraphy ink is not only permanent, but it splatters easily onto clothes, furniture, and even walls.
To load the brush, dip it into the ink in the inkstone. You’ll notice this will bring too much ink into the brush, making it difficult to write properly. So before you start to write, blot the brush on the inkstone. Over time, you will get a feel for the right amount of ink for different effects in your calligraphy characters.
Again, avoid swinging or flicking the brush around and always keep it pointing downward. When taking a break from your work, place the brush on the inkstone.
Writing Horizontal Lines
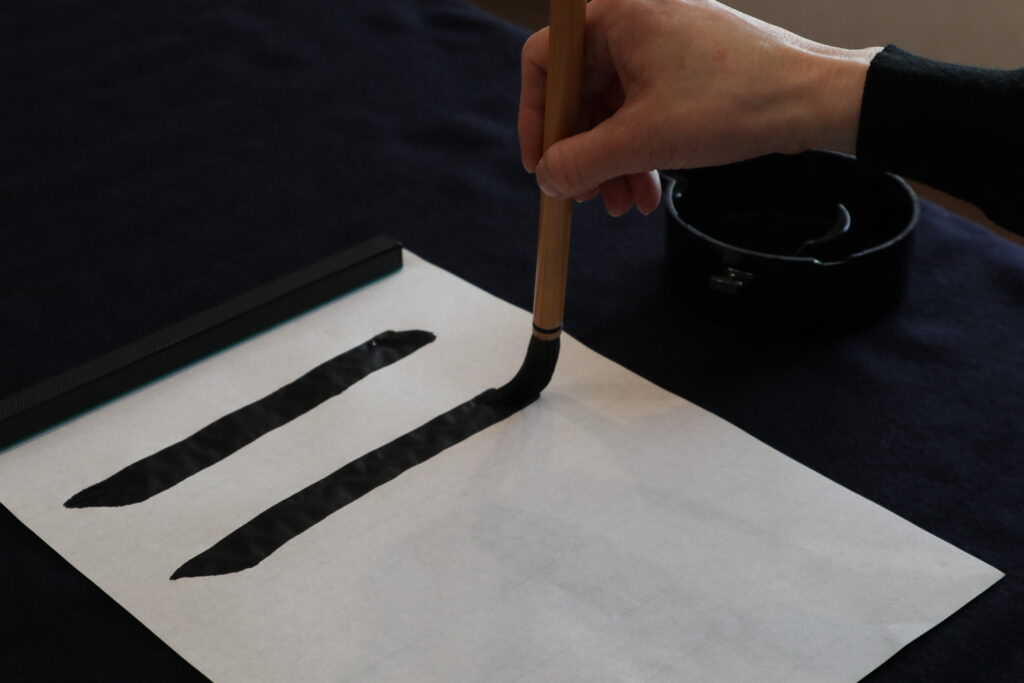
Let’s try writing the simplest shape: a horizontal line. Before starting, use the inkstone to shape the brush into a neat point. As you begin writing, remember to keep the brush upright. Gently press the brush about halfway down onto the paper and pause—count 1, 2, 3. Then lift the base of the brush and move your whole arm to the right for the length of the line. At the end, press down to the base of the brush again, and count 1, 2, 3. Finally, lift the brush from the paper.
Practice this a few times. If your bristles get messy or dry, use the inkstone to wet the brush and make a point.
Writing Vertical Lines
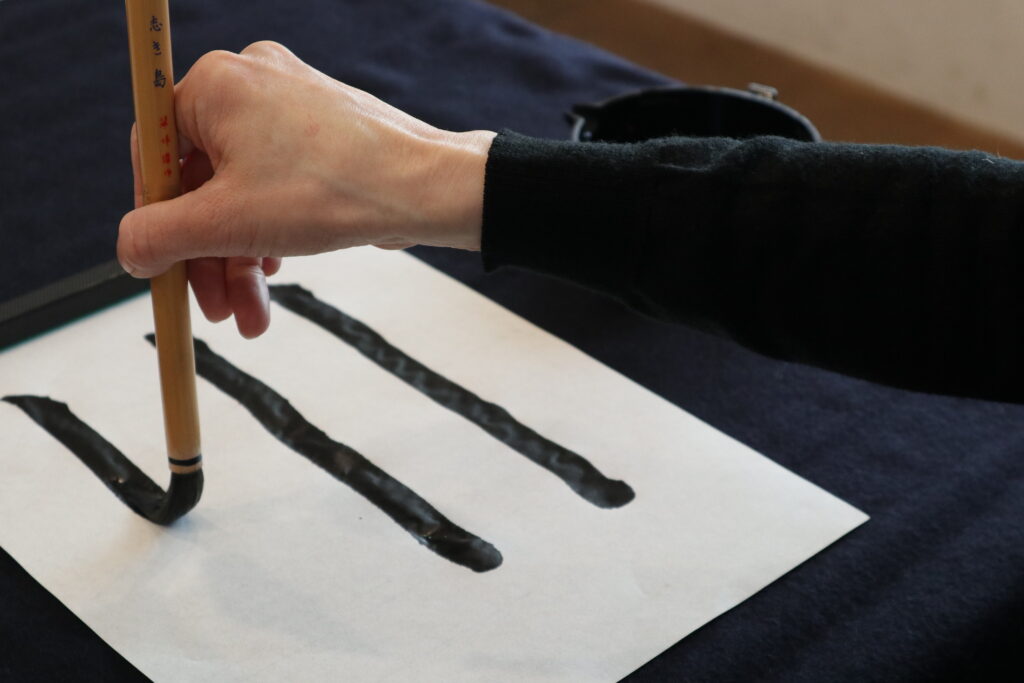
Vertical lines are similar to horizontal lines. Begin by pressing down with the brush tip and counting 1, 2, 3. Then lift the base of the brush slightly and move your arm down to draw a line from top to bottom. Finally, press down the base of the brush, count 1, 2, 3, lift the brush, and you’re done!
Basic Rules for Lines: Left to Right, Top to Bottom
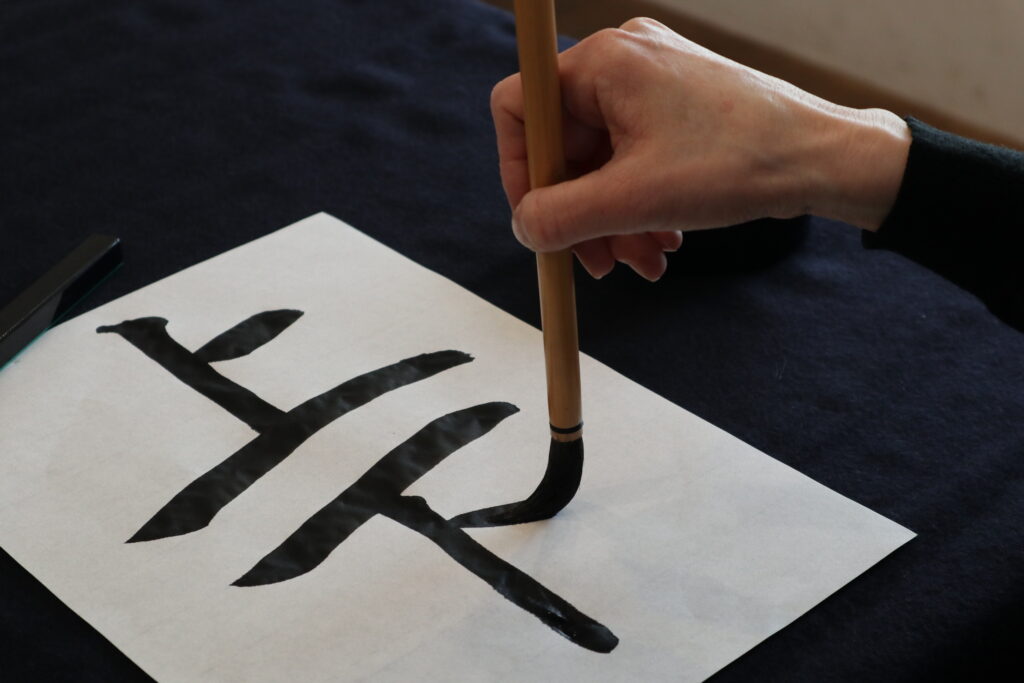
The basic principle for straight lines is to write from left to right and from top to bottom. When writing characters as well, horizontal lines run from left to right. When there are multiple horizontal lines, we write them in sequence from the upper lines to the lower lines.
Some complex characters are divided into left and right parts. For these, start by writing the left side first top to bottom, then the right side top to bottom.


