
Continuing from last time, let’s look at a few more simple strokes for Japanese calligraphy.
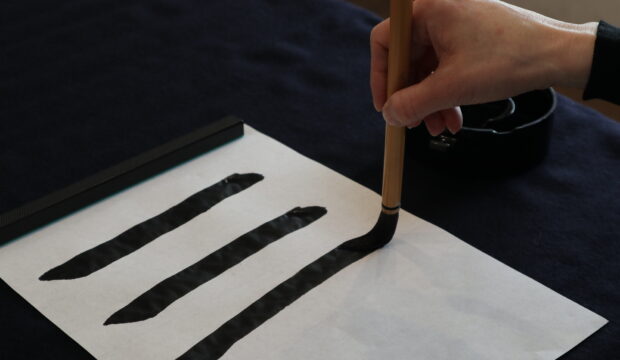
Short Stopping Lines

Place the tip of your brush on the paper.

Then slowly draw downward diagonally to the right, lowering the brush to the middle. Once there, stop and count 1, 2, 3.

Then slowly lift the brush from the paper from the base to the tip.
Lines with Corners

First, draw a horizontal line the way we learned in Part 1.

Stop your line at the corner and count 1, 2, 3. Then lift the brush just a little to change the direction—not all the way from the paper, but simply to relieve pressure.

Reposition your brush to prepare for the downward stroke by moving it slightly upward to the right. This prepares you for the downward stroke.*
*Note: Be careful not to twist the brush while it’s on the paper. In calligraphy, we never twist. Instead, we reposition or simply draw the brush in a different direction.

Then draw a vertical line downward as we learned in Part 1.

At the end of the line, stop and count 1, 2, 3. Slowly lift your brush from the paper.
Hook (Upward to the Left)

First, draw a vertical line from top to bottom. When you reach the bottom, stop and press your brush down about halfway, counting 1, 2, 3.

Next, move the brush diagonally to the left about 1 cm and stop.

From there, slowly flick* the tip of the brush diagonally upward to the left. This completes the hook stroke.
*Imagine this “flick” happening in slow motion—it should not be a powerful flick, but a slow lifting of the brush.
There are other types of strokes as well. Check out Part1 and Part 3 to learn more simple strokes for Japanese calligraphy.

